Branding Guidelines - Logo
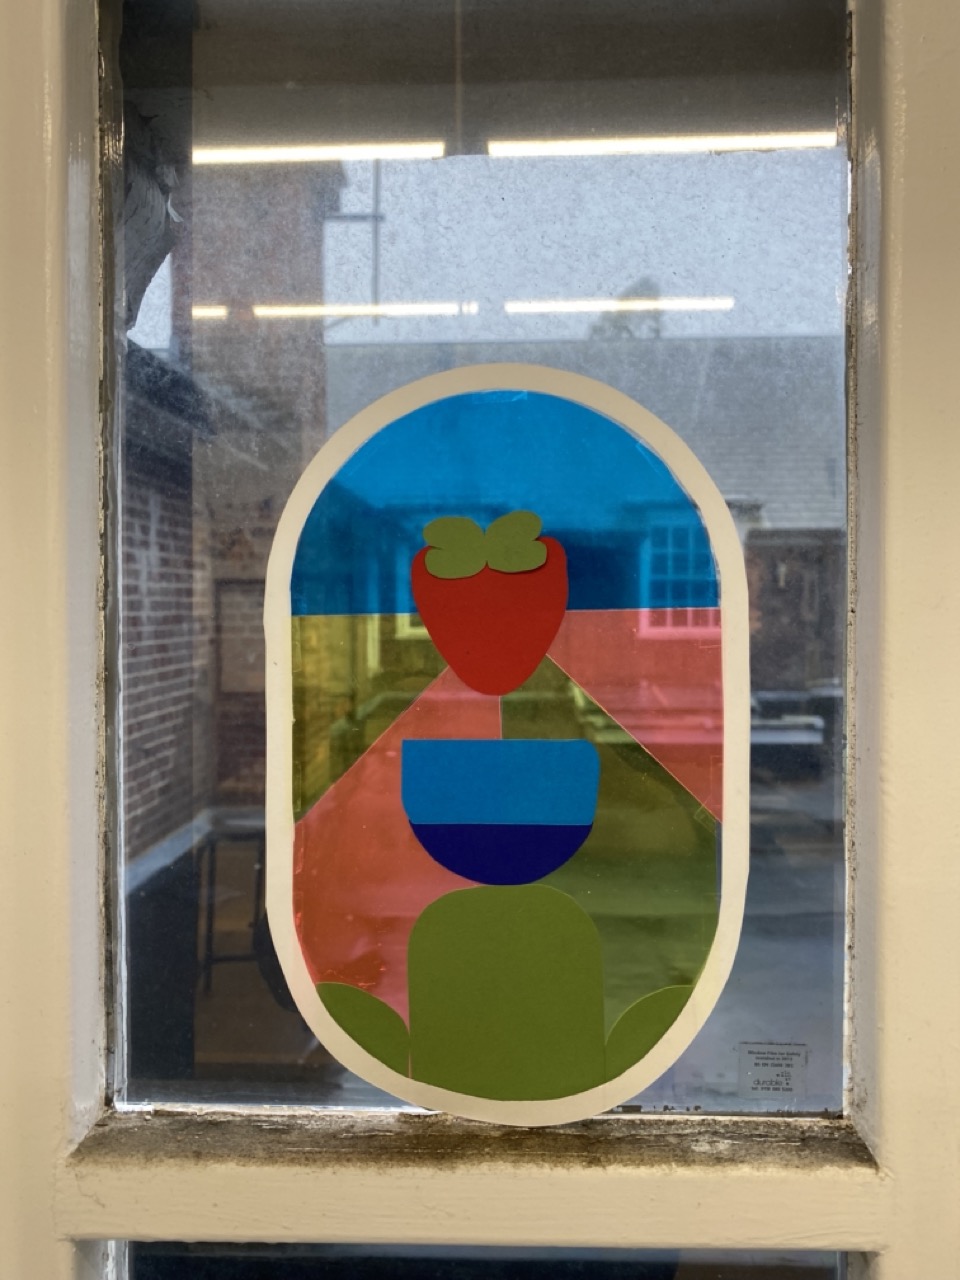
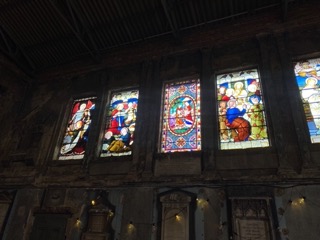
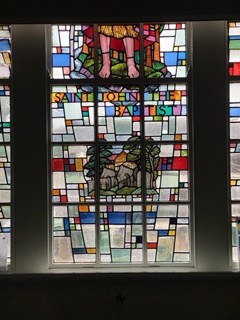
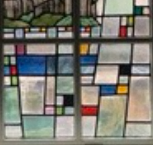
I took inspiration from stain glass windows. Below you can see some example photos I took:
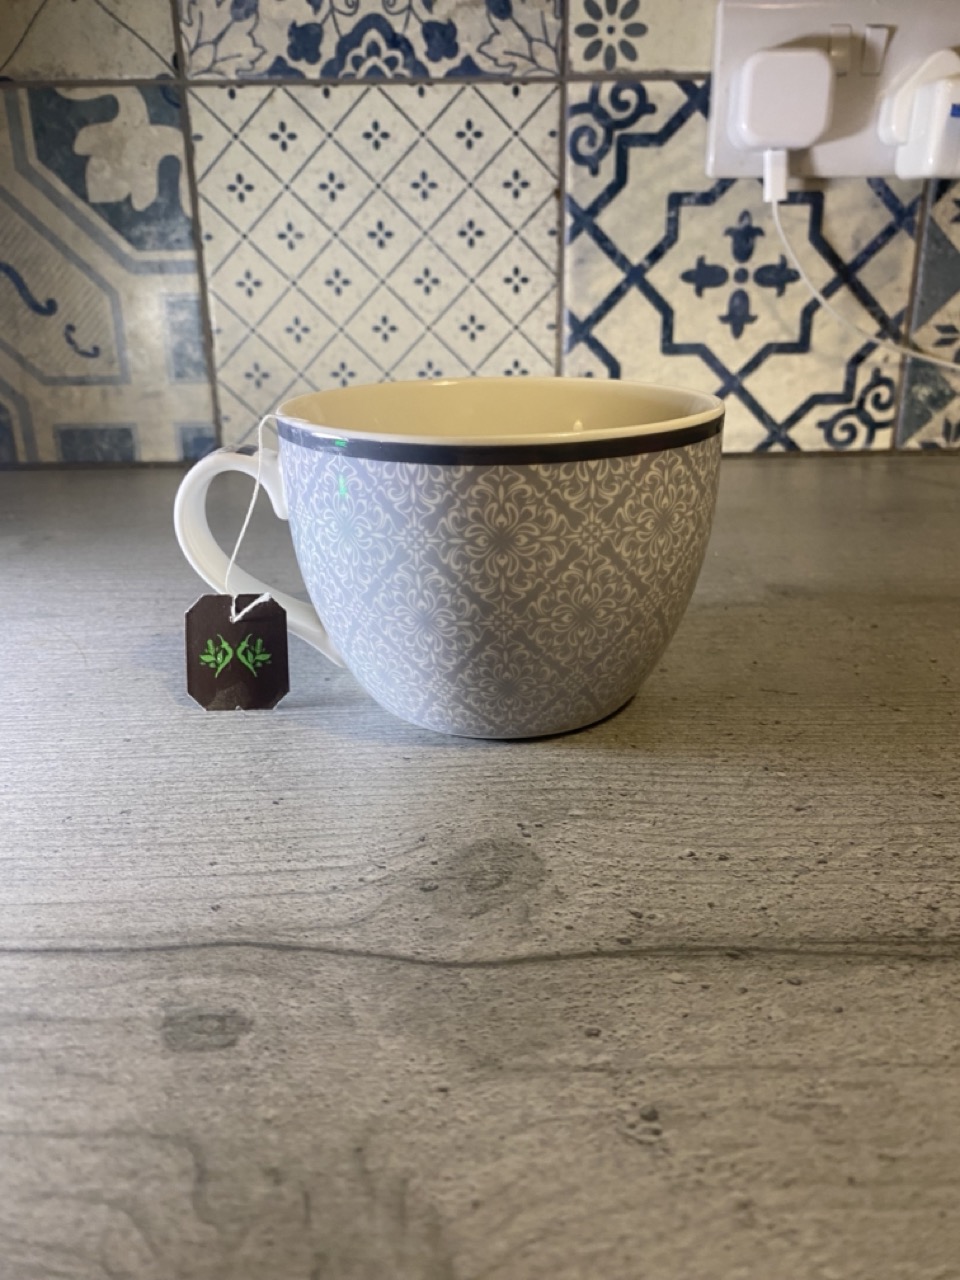
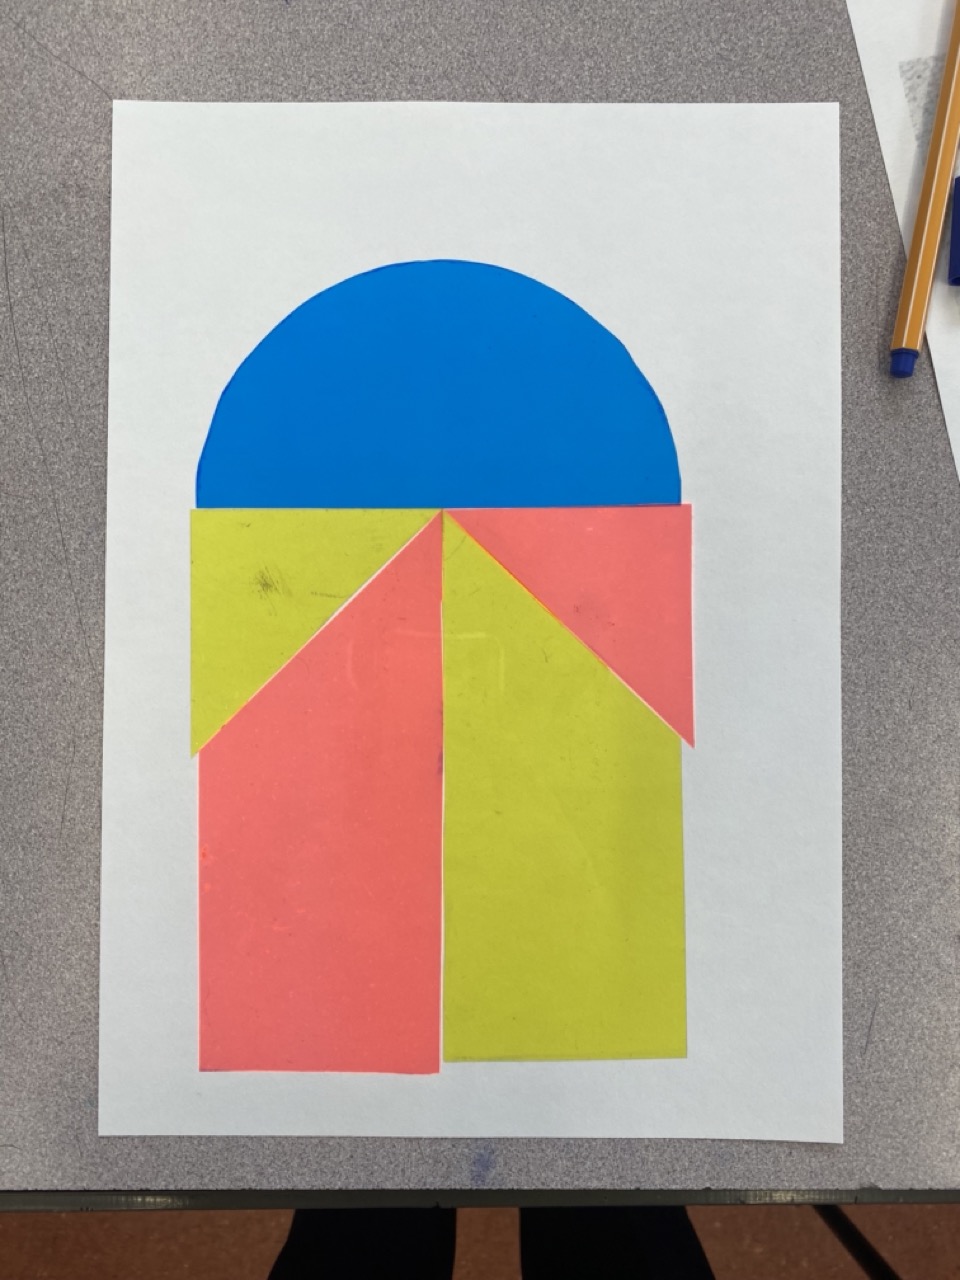
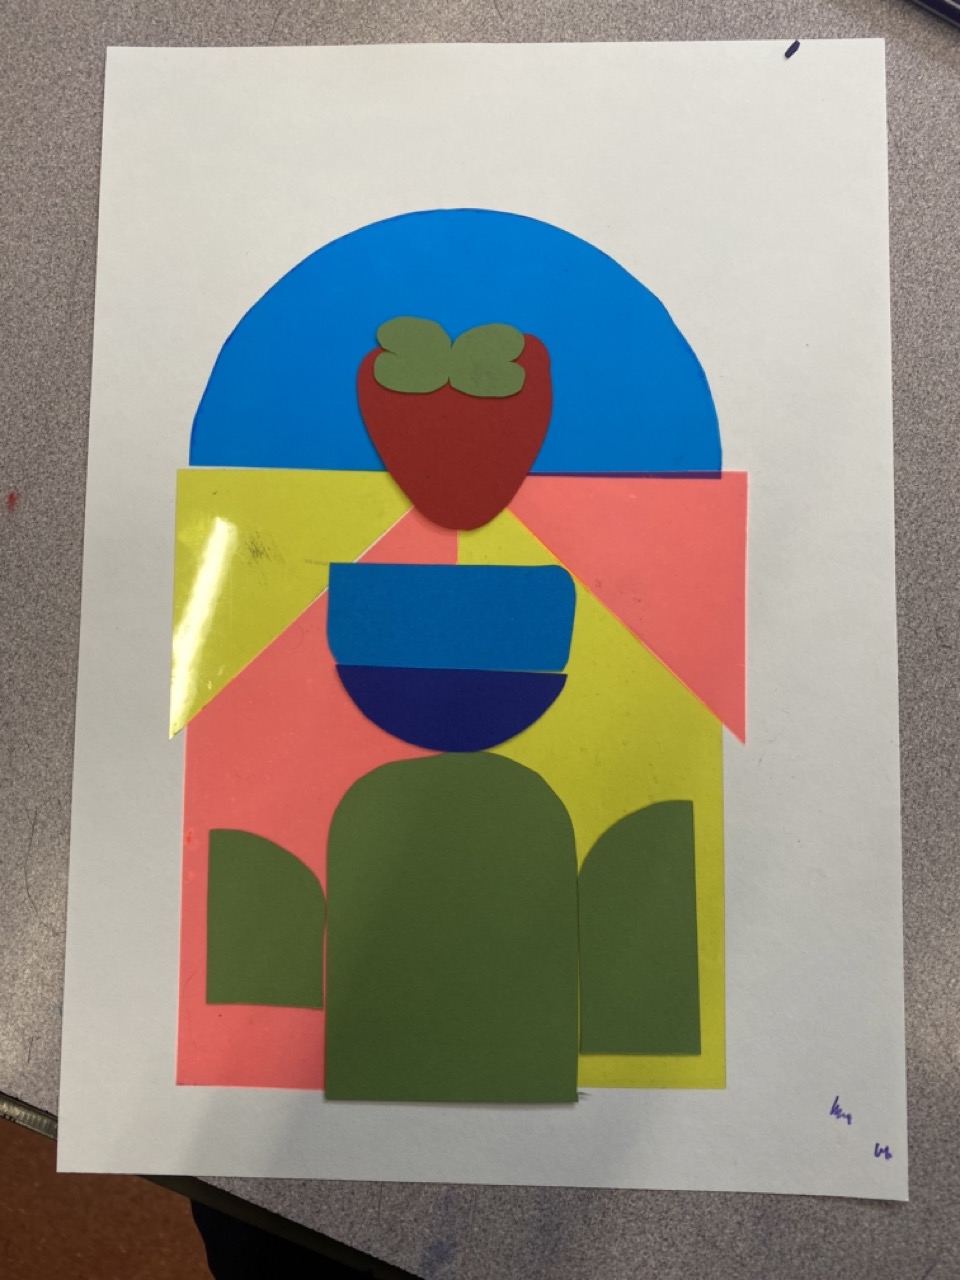
I first started by creating a tea cup. I referenced the photo I took in my primary source photos. This would help customers clearly associate what the brand is from a simple glance at the logo. I experimented with a variety of different handle sizes, and eventually settled on a larger handle to help when viewing from a small size.
I knew I wanted the logo to be similar to a patch or seal to help give the product a more regal and up-market feel. To help differentiate the logo from whatever background its placed on I also included a border around it. To further demonstrate this regal feel, I placed the tea cup on a pedestal, making it appear to the customer as though the brand is “number 1”.
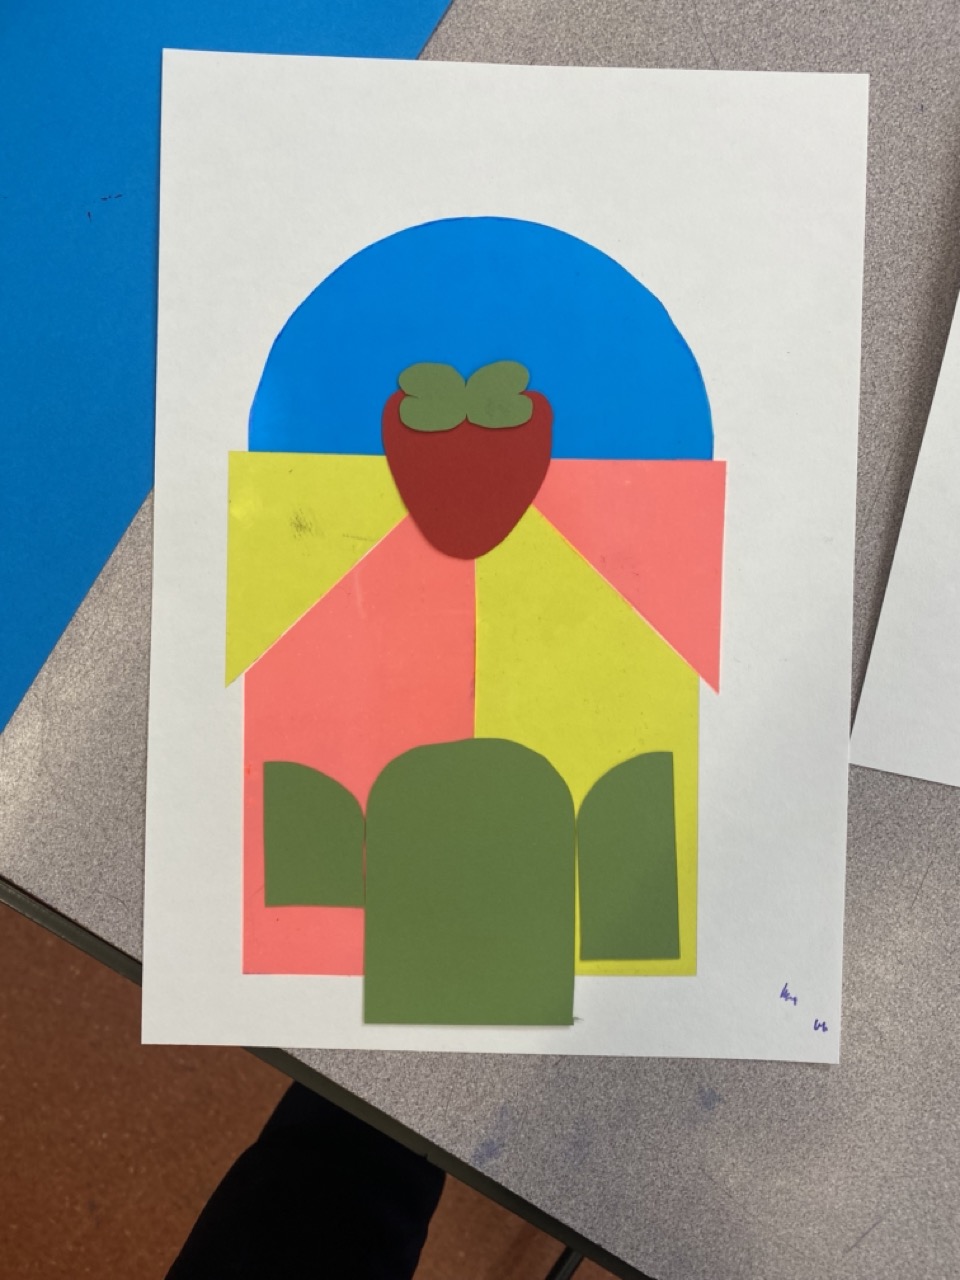
I then also started work on including a fruit within the logo, helping to further refine what we sell to a new customer. I decided on a strawberry due to its distinct red colour, making it more eye catching.
I also experimented with adding rays of sunshine around the strawberry. This helped to make it very eye catching and gives the idea that our tea is “blessed”. I chose colours directly from my design document.
I also experimented with changing the border colour, but later decided against it, as it started to counteract the reason for the border in the first place, and instead helped the logo to blend in. I also applied a border radius to the pedestal, removing the harsh corners. I felt that this helped to make the brand seem more friendly and approachable.
I then experimented with adding the brand name to the logo, first ontop and then within. However the rays of light began to intersect with the text, so I decided to remove the top half.
I then decided to remove the text from the logo as it made it difficult to scan at small sizes, and instead opted for a wordmark.
As well as creating a digital version, I also created a physical copy, leveraging the art of stain glass: